
Having developed a foodie crush now on Brazilian cheese
bread, I googled recipes for it literally as soon as I left Pampas that night.
It took me awhile to make it as I had to suss out some tapioca flour but I
finally got to it. While tapioca flour is available on amazon, like millions of
other hard-to-find things, I balked at how expensive it was on amazon and
instead turned to my trusty local Ranch 99 Asian grocery store.


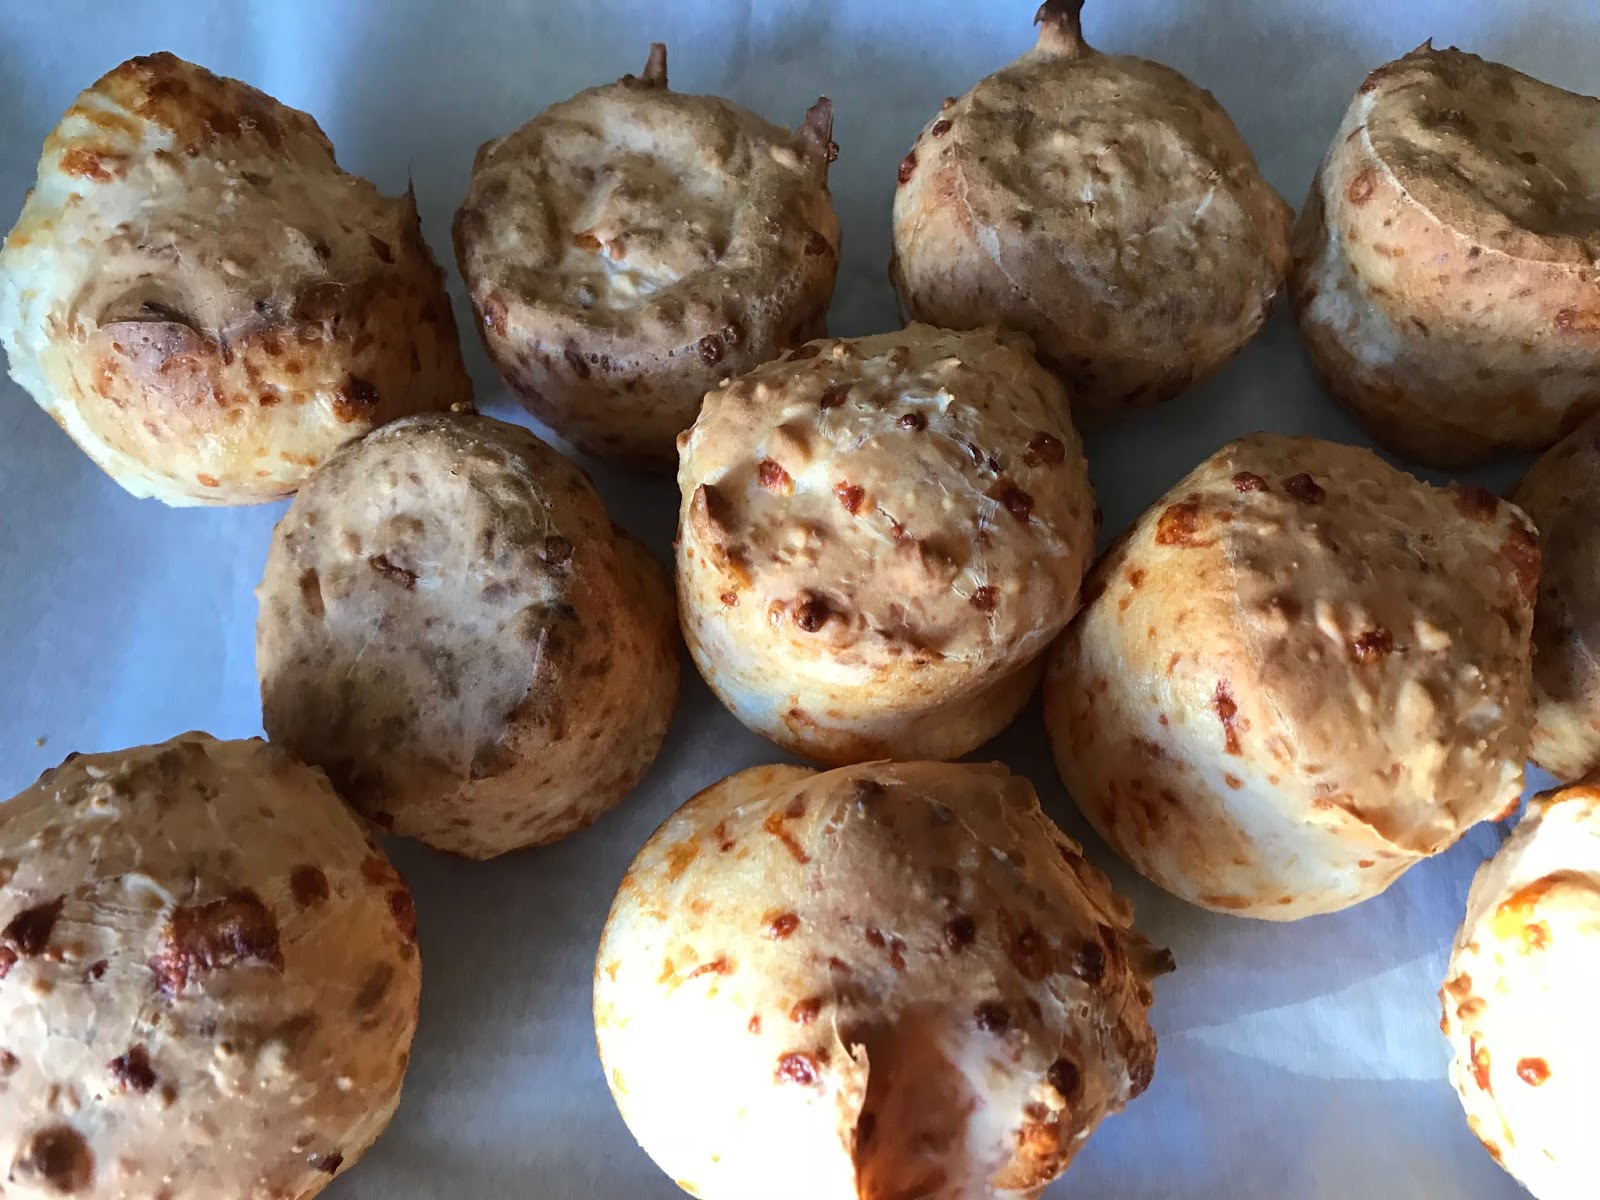


The first batch came out a little pale. I baked them for the
time suggested in the recipe and they looked fine. The outside was crusty-soft
but the inside looked like baked brie. I was afraid that meant they weren’t
done because the cheese bread from Pampas had more structure than that so I put
them back into the oven to bake another 10 minutes. I finally took them out
before they got too brown. The outside was pleasingly crunchy and the inside
was warm cheesy gooeyness. These still didn’t have the same texture as the ones
from Pampas but they tasted pretty good. These are best eaten warm! While the
outside is crusty (it softens after cooling) and the inside is warm molten
cheese. These are a good bread-basket option if you want something gluten-free.
But seriously, eat them warm. So good that way.


1 1/4 cups milk
1/2 cup water
6 tablespoons oil
1 1/2 cups grated Parmesan cheese
1 cup shredded Mozzarella cheese
2 large eggs
2 teaspoons salt
- Preheat oven to 400 degrees F.
- Combine the milk, water, oil and salt over medium high heat. Add the tapioca flour to the bowl of a stand mixer. Once the milk boils, pour over the flour. Mix flour and milk on medium-high speed until well combined.
- Add eggs, one at a time, until combined.
- Add the cheeses, a half cup at a time, until incorporated.
- Wet your hands and shape the dough into golf-ball size balls. Space evenly on baking sheets lined with parchment paper. Bake for 15-20 minutes or until golden brown and puffed. Serve warm.
No comments:
Post a Comment