Wednesday, September 7, 2016

Big Bakery-Style Peanut Butter Chunk Cookies

Big Bakery-Style Peanut Butter Chunk Cookies - made dough August 4, 2016 from Sally's Baking Addiction
This may be the best peanut butter cookie recipe I’ve tried. Or at least the best I can remember in my recent baking past. Which really says something because you know I’m indifferent to peanut butter. But if a peanut butter lover asked me to bake them some cookies, I would go with this one, hands down.

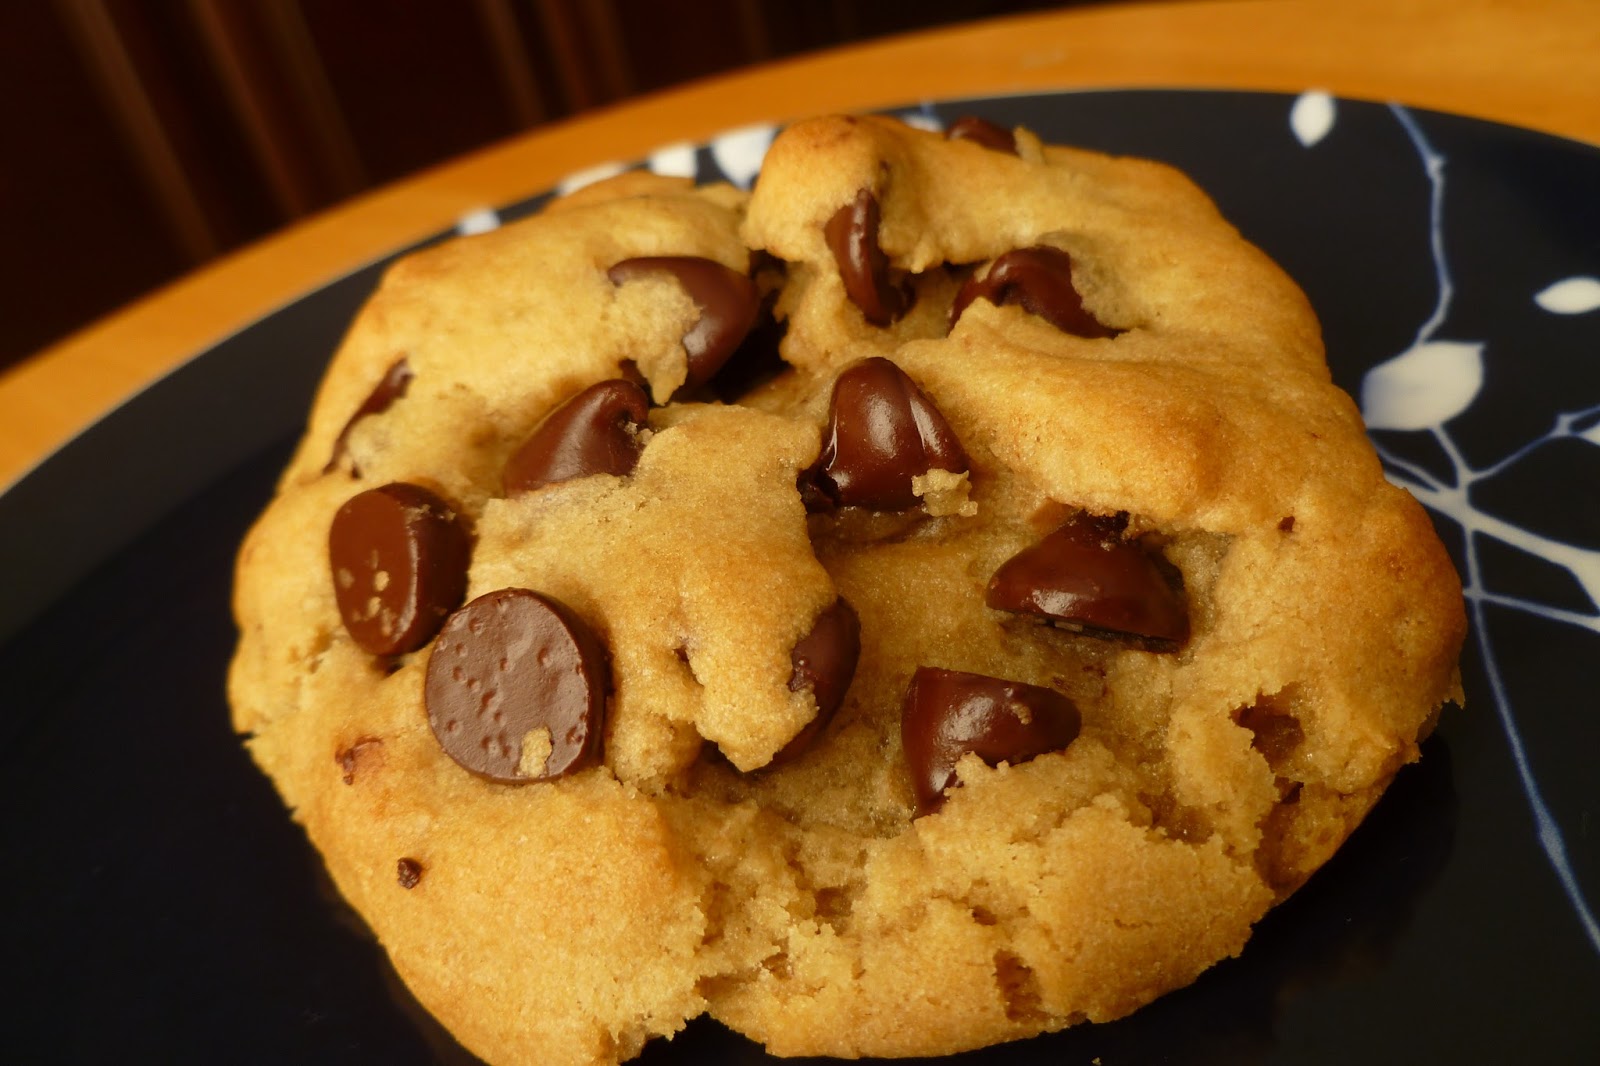
I like it for a few different reasons. First, with 2 cups of peanut butter in it, it isn’t messing around. It’s peanut butter. Even though it has chocolate chips in it, first and foremost, it’s a peanut butter cookie.


Second, and you had to know this was coming, it baked into a thick, chubby cookie! Hardly any spread. In fact, you may want to shape this as thick discs instead of dough balls as it won’t spread out that much if you bake it from frozen dough, which is what I always do. Baking as thick discs will help give you a uniformly thick cookie instead of (very slightly) thinner edges with a domed middle.


Lastly, I loved the texture. I’m still somewhat indifferent to the taste of peanut butter itself but I liked the soft, chewy, moist texture of this cookie. A lot. I put these out at work before 8 am, had meetings most of the morning but the next time I went to our communal kitchen, even the plate was gone. Rumor has it they were gone by 9 am. There weren’t even any telltale crumbs on the counter. So that’s my gauge that other people less indifferent to peanut butter than I am also liked this cookie.

2 1/2 cups all-purpose flour
1 teaspoon baking powder
1 teaspoon baking soda
1/2 teaspoon salt
1 cup (2 sticks) unsalted butter
1 cup granulated sugar
3/4 cup packed light brown sugar
2 large eggs
2 cups creamy peanut butter
1 1/2 teaspoons vanilla extract
 1 1/2 cups semisweet chocolate chips

1/2 cup granulated sugar for rolling, optional
  1. Whisk the flour, baking powder, baking soda and salt together in a medium bowl; set aside.
  2. Using a stand mixer fitted with the paddle attachment, cream the butter and both sugars together on medium speed until smooth, 1-2 minutes. Add the eggs and beat on high until combined, 1 minute. Add the peanut butter and vanilla and mix until combined.
  3. Add the dry ingredients to the wet ingredients and mix on low until combined. Fold in the chocolate chips with a wooden spoon.
  4. Portion into golf-ball-size dough balls, flatten into thick discs if desired (these don't spread much), cover and chill or freeze for several hours or overnight.
  5. When ready to bake, preheat oven to 350 degrees F. Line baking sheets with parchment paper.
  6. Roll dough balls in granulated sugar and evenly space on cookie sheets. Bake each sheet for 14-15 minutes until lightly browned at the edges and middles no longer look raw. Remove from oven and let cool on baking sheets for several minutes before removing to wire cooling racks to cool completely.

Monday, September 5, 2016

Basic, Great Chocolate Chip Cookies from Seven Spoons

Basic, Great Chocolate Chip Cookies - made dough July 23, 2016 from Seven Spoons
I’m not over chocolate chip cookies yet. I may never be. Even though I went through a marathon baking sessions of trying recipe after recipe for chocolate chip cookies, apparently I haven’t gotten them out of my system yet because I still like trying new recipes for chocolate chip cookies. That’s okay. No one I know is sick of eating them yet.

My deviation from my usual chocolate chip cookie making is I used extra dark chocolate chips this time around. I’m a milk chocolate chip person myself but there are a lot of dark chocolate fans out there. A friend gave me 2 bags of the extra dark chocolate chips so I decided to use them for this recipe.
Mine didn’t turn out like the picture in the original blog where I got the recipe from but I’m okay with that as I think mine turned out thicker. I deviated from the recipe’s advice to use chocolate chunks because that would defeat my purpose of using the bag(s) of dark chocolate chips. Otherwise, it had all the earmarks of my kind of cookie: didn’t spread much, stayed thick, was chewy and moist, had crisp edges and the texture was beautifully chocolate-chippy. (Yes, I made up that term.)


I never measure chocolate chips. I just add at will until I’m satisfied with how many chocolate chips are in each dough ball. I always reserve some to add when the dough is almost gone as that’s usually the scoop that has the least amount of chips and I also press chips on the outside of each dough ball to make sure there are enough in the cookie. 

In this case, I used a full bag plus about ¼ of the 2nd bag. If the chips had been milk chocolate, I’d probably be all over this cookie. With the dark chocolate, I liked it but would’ve preferred milk chocolate. I suspect I’m in the minority about dark vs milk at work since these went faster than my previous batches of (milk) chocolate chip cookies.
1 cup unsalted butter, chopped, melted
3 1/4 cups (415 grams) all-purpose flour
1 1/4 teaspoons baking powder
1 teaspoon baking soda
1 1/2 teaspoons medium-grain kosher salt
1 1/2 cups (320 grams) packed light brown sugar
1/2 cup (100 grams) granulated sugar
2 eggs
2 teaspoons vanilla extract
12 ounces semisweet or bittersweet chocolate, chopped
  1. In a medium bowl, whisk together flour, baking powder, baking soda and salt; set aside.
  2. Combine melted butter and sugars. Add eggs, one at a time, whisking after each addition, until just combined. Stir in vanilla.
  3. Mix in dry ingredients with a wooden spoon. Do not overmix.
  4. Fold in chocolate chunks or chips. Portion into golf-ball-size dough balls, cover and chill or freeze for several hours or overnight.
  5. When ready to bake, preheat oven to 360 degrees F. Line 2 baking sheets with parchment paper.
  6. Bake 10-12 minutes or until edges are golden brown and middles are no longer raw. Do not overbake. Cool for 2 minutes on baking sheets then transfer cookies to wire cooling rack to cool completely.

Sunday, September 4, 2016

Restaurant Review: Rose's Cafe & Donuts

Rose's Cafe & Donuts - brunch on August 6, 2016
Rose’s CafĂ© is the kind of place I like to go to for a casual meal: it’s a local small business, the prices are reasonable, you order your food at the counter and pay for it there, they bring it out to you and you eat. The selections aren’t fancy but straight up, good breakfast food. It’s larger inside than I expected from the outside and I’ve been told they had recently moved to their current location. It’s also nicely airy and bright, all the better to showcase their baked goods. They have a bakery display counter if part of your indulgence is bakery goods like croissants, cinnamon rolls, Danishes, apple fritters and doughnuts.


I met a friend there for brunch and, guided by the yelp reviews, ordered the breakfast burrito of scrambled eggs, sausage, bacon and hash browns in a flour tortilla. Simple, straightforward goodness. And it was cheap. I also bought the apple fritter to split with my friend and the two items together were less than $10. There are other, more expensive items on the menu with “expensive” being relative but it was definitely good value for your money. The breakfast burrito was sizable enough that I could’ve just eaten half for brunch and half for a late lunch. I didn’t but I could have if I had any self control.


The apple fritter was okay but I wished it had more apples. Plenty of fritter, fewer apples. For that kind of raised dough though, I still defer to Stan’s Donuts, king of donuts and breakfast pastries. I didn’t try anything else but I definitely want to go back to Rose’s again and explore their other offerings.
French Toast Combo
Breakfast Burrito
My friend got the French toast combo and I have to say, the smell of the French toast was to die for. I don’t know why it smelled so good and normally I don’t order French toast since I could make it so easily at home but I might have to get it next time, if for no other reason than to inhale the scent and satisfy my olfactory senses.
Oh and one thing to know about Rose's Cafe: it's cash only. Fortunately, their prices are reasonable so you don't have to bring a lot of cash but enough to cover what strikes your fancy.
Apple Fritter

Saturday, September 3, 2016

Fudgy Dark Chocolate Brownies

Fudgy Dark Chocolate Brownies - made August 4, 2016 from Belle of the Kitchen
I can’t remember why I made these. I think I needed something quick and easy for treat bags when I went out with friends and brownies are almost as easy as cookies, especially if you need a decent number to give away.
These look almost too gooey but that’s mostly because I cut them and took pictures before the brownies had completely set and cooled. Remember the key to moist, fudgy brownies is to underbake them because the chocolate sets after baking and cooling. If I had taken pictures of these the next day, they would look more fudgy rather than gooey. That said, I think I did underbake them just a trifle and they could’ve done with an extra 2-3 minutes in the oven without comprising their fudginess. 
The reason I can tell is they were just a trifle difficult to remove from the cooking-spray-coated foil lining in the pan. Normally, it’s easy to pull them apart after cutting but they were just a bit gooey when I tried it. Regardless, they were still fudgy goodness. 

One trick I’ve learned with baking brownies – if you’re like me and don’t like a crust-like top on your brownies, either that thin, almost flaky crust you get with boxed brownies or a “crisp”, thicker crust, you have to avoid overbeating the batter after you add the eggs (that’s the thin, flaky crust with your eggs adding a meringue-like texture to the top from being beaten too much) and bake the brownies at a lower temp. If your oven tends to run hot or you’re baking thicker brownies, try baking at 325 degrees instead of 350. Never go higher than 350 as that will (over)bake the top of your brownie while the center underneath will take a little longer. I also never bake on the convection setting because I don’t want the top to bake into a crust while the rest of the brownie catches up.
1 cup unsalted butter
8 ounces bittersweet chocolate
2 cups sugar
2 teaspoons vanilla extract
5 large eggs, cold
1/3 cup unsweetened cocoa powder
2/3 cup all-purpose flour
1/2 teaspoon salt
  1. Preheat oven 350 degrees. Line a 9 x 13" baking pan with foil and lightly spray with nonstick cooking spray.
  2. In the top half of a double boiler over barely simmering hot water, melt butter and chocolate, stirring until smooth and completely melted. Remove from heat and cool for several minutes.
  3. Whisk sugar and vanilla into chocolate mixture. Whisk in eggs, one at a time, until combined and smooth.
  4. In a separate bowl, sift together cocoa powder, flour and salt. Combine flour mixture with chocolate mixture and whisk thoroughly.
  5. Spread batter into prepared pan and bake for 25-35 minutes or until a toothpick inserted in the center comes out with moist crumbs. Cool completely before cutting and serving.

Thursday, September 1, 2016

Outrageous Chocolate Toffee Cookies

Outrageous Chocolate Toffee Cookies - made dough July 31, 2016 from The Creekside Cook
I always like recipes that pair a word like “outrageous” with “chocolate”. “Obsession”, “Death by” and other hyperboles work as well. I’ve still got bags of toffee bits to use and I went against the grain to try this recipe for chocolate cookies that had toffee bits in them as opposed to just sprinkled on top, as with brownies.

These ended up being super dark chocolate in flavor. When I took the first bite, I wondered if I had forgotten the sugar; they were THAT dark chocolate in flavor. I think it’s because I used the “good” dark chocolate, meaning 85% Lindt dark chocolate. There is sugar in the recipe but if you don’t have much of a sweet tooth and you like dark chocolate, these cookies might be up your alley. Seriously, they’re not sweet. The addition of the toffee bits didn’t sweeten them as much as you might think either.
I don’t know that I loved the toffee bits in here. They did provide a little bit of crunch, a little bit of chewy and a little sweetness but I tend to be a purist so I think I would like these better without the toffee and just as pure unadulterated chocolate.

8 ounces bittersweet chocolate (I used 85% Lindt), coarsely chopped
4 tablespoons butter
2/3 cup all-purpose flour
1/2 teaspoon baking powder
1/2 teaspoon salt
2 large eggs
3/4 cup dark brown sugar, tightly packed
1 teaspoon vanilla
1 cup chocolate chips (you can use semisweet, milk or white)
3/4 cup toffee bits
  1. Melt chocolate and butter in the top half of a double boiler over gently simmering water, whisking until completely melted and smooth. Cool for several minutes.
  2. Whisk flour, salt and baking powder together in a small bowl; set aside.
  3. Combine sugar, eggs and vanilla in the bowl of a stand mixer and mix briefly on low speed, just until combined.
  4. Increase mixer speed to medium high and beat for about 2 minutes, until mixture is creamy. Reduce speed to low and beat in chocolate mixture.
  5. Fold in flour mixture then add chocolate chips and toffee bits; do not overmix.
  6. Portion into dough balls, cover and chill or freeze several hours or overnight.
  7. When ready to bake, preheat oven to 350 degrees F. Line several baking sheets with parchment paper.
  8. Evenly space frozen or chilled dough balls on baking sheets and bake cookies for 9-11 minutes. Remove from oven and allow to cool for several minutes on baking sheets before removing to wire racks to cool completely.

Tuesday, August 30, 2016

Boston Cream Pie "Tarts"

Boston Cream Pie "Tarts" - made August 7, 2016
I got the idea for this watching one of those short videos where they make a “simple” recipe in 30 seconds. I just scroll past most videos but there’s something about those cooking and baking ones that suck me in like ice cream on a hot day. As if I needed that excuse.

The original video called for using a sugar cookie mix to make the crust and a custard for the filling. Being me, I eschewed the mix and went for homemade tart shells from my recipe for Butter Pecan Tartlets. And since custard isn’t my thing but I love pastry cream, I also subbed in my recipe for homemade pastry cream. About the only thing I stayed faithful to was the hot fudge and that I bought from Trader Joe’s.
Given that, this was really easy to put together. Mix the crust, pat into mini tart shells or mini muffin tins, bake and let cool. While the shells are baking and cooling, make the pastry cream. You can also get fancy and add coconut to the pastry cream if you’re so inclined. It takes it a step further from the concept of a Boston Cream Pie but it’s your dessert; make what works for you. If you want to be more of a Boston Cream Pie purist, you could make mini vanilla cakes instead of mini tart shells.

I liked the tart shells, partly to get more use out of my tart pan and partly because they’re just easier to handle. I had a certain vision in my head for how these would look but I only partially achieved it. Tart shells – check. Pastry cream – check. Filling the tart shells with pastry cream – check again. Where my vision started to falter is I underestimated how much the hot fudge would not adhere to the pastry cream. I warmed it up just slightly so it would pour more easily but even so, while it initially covered the pastry cream filling, it then went on to slide over the sides and leave only a thin film of fudge on top of the pastry cream.

The end result after more than a few minutes wasn’t very aesthetically pleasing to say the least. More like “messy”. If you like Boston cream pie, it was still a decent riff on one, especially those who struggle with the cognitive dissonance that Boston cream pie isn’t actually a pie but a cake. This tries to get to the pie roots by using a “pie” shell. The only thing with this though is you pretty much have to serve it right after you make it. Pastry cream gets a “skin” if left out in the air for too long and since the fudge refused to blanket it the way I wanted, it wasn’t much help to protect the pastry cream and keep the skin from forming. You can serve these chilled, which is a good way to preserve the cream but it will make your hot fudge a bit more solid and chewy. If I make these again, I would use less hot fudge and not warm it as much so it’ll stay put once I pour it over the top of the tarts.
Tart Shell (make the tart shell recipe only)

Pastry Cream (make a half recipe)

Hot Fudge (I used the jar from Trader Joe's)
  1. Make a full recipe of the tart shells. I got 12 mini tarts and 5 mini muffin-sized shells out of 1 recipe. Bake until shells are golden brown around the edges. Cool completely.
  2. While the tart shells are baking and cooling, make a half recipe of the pastry cream. Cover directly with plastic wrap and put in refrigerator to cool.
  3. When ready to assemble, pipe or spoon the pastry cream into the tart shells, filling to the top. Pour slightly (very slightly) warmed-up hot fudge over the center of the filled shells. Serve immediately.